Optimizing Apache MXNet models for DeepLens on Amazon SageMaker
In a previous post, we explored how Apache MXNet models are in fact optimized for AWS DeepLens thanks to the Intel Deep Learning Inference Engine.
In this article, I will show you how to automate this process during a typical training process we would perform on Amazon SageMaker.
As usual, all code is available in a Jupyter notebook on Github.
Downloading the Intel Deep Learning Deployment Toolkit
First of all, we need to register and get a download link for the toolkit. Then, let’s grab the toolkit and extract it.
$ wget TOOLKIT_NAME.tgz
$ tar xvfz TOOLKIT_NAME.tgz
$ cd l_deeplearning_deploymenttoolkit_2017.1.0.5852
In order to be able to perform unattended installation, let’s edit the configuration file named silent.cfg. We simply need to set:
ACCEPT_EULA=accept
Now, let’s archive the toolkit and copy it to an S3 bucket, which we’ll use for deployment to SageMaker instances.
cd ..
tar cvfz toolkit.tgz l_deeplearning_deploymenttoolkit_2017.1.0.5852
aws s3 cp toolkit.tgz s3://jsimon-public-us
Ok, now we’re ready to deploy the toolkit to SageMaker and convert models. Let’s open a notebook instance and start a new Jupyter notebook.
Defining paths and parameters
First, let’s define S3 locations for the toolkit and the model to convert: if you used Amazon SageMaker to train the model (and why wouldn’t you?), your model is already in S3 anyway :)
In order to make these variables visible from all cells, we’re using the %env Jupyter magic.
%env TOOLKIT_BUCKET=s3://jsimon-public-us/
%env TOOLKIT_NAME=toolkit.tgz
%env TOOLKIT_DIR=l_deeplearning_deploymenttoolkit_2017.1.0.5852
%env MODEL_BUCKET=s3://jsimon-public-us/
%env MODEL_NAME=Inception-BN
Next, we have to set the location where the Intel Toolkit will be installed, as well the optimization parameters we’d like to use.
%env OPT_DIR=/opt/intel/deeplearning_deploymenttoolkit/deployment_tools/model_optimizer/model_optimizer_mxnet
%env OPT_PRECISION=FP16
%env OPT_FUSE=YES
Installing the toolkit
Now we’re ready to download and install the toolkit. A few lines of script is all it takes.
aws s3 cp $TOOLKIT_BUCKET$TOOLKIT_NAME .
tar xfz $TOOLKIT_NAME
cd $TOOLKIT_DIR
chmod 755 install.sh
sudo ./install.sh -s silent.cfg
The next step is to install Python dependencies required by the Model Converter.
Conda makes it easy to create isolated environments, so let’s build one for the Intel toolkit. This will save us from clobbering the environment we use for training.
Of course, you’ll only need to run these steps once per instance. The second (slightly cryptic) line is required to see the new kernel listed in the Jupyter menu.
conda create -n intel_toolkit -y
python -m ipykernel install --user --name intel_toolkit --display-name "intel_toolkit"
source activate intel_toolkit
cd $OPT_DIR
pip install -r requirements.txt
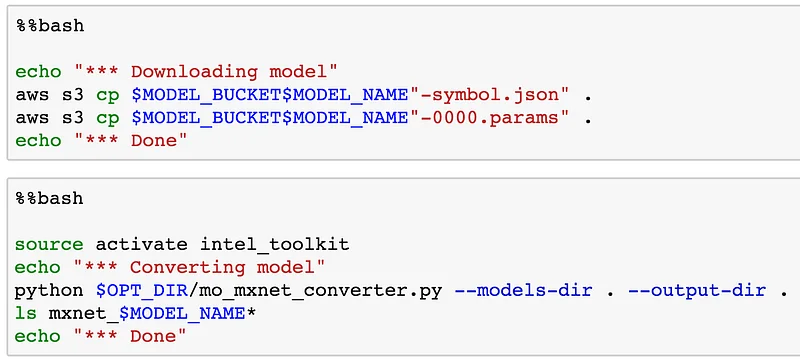
Downloading the model
Nothing fancy here: simply copy the trained model from its S3 location.
aws s3 cp $MODEL_BUCKET$MODEL_NAME"-symbol.json" .
aws s3 cp $MODEL_BUCKET$MODEL_NAME"-0000.params" .
Converting the model
We saw how to do this in the previous post. More information on parameters here.
python $OPT_DIR/mo_mxnet_converter.py \
 --models-dir . --output-dir . --model-name $MODEL_NAME \
--precision $OPT_PRECISION --fuse $OPT_FUSE
And we’re done! Now you can copy the converted model back to S3 and deploy it to Deep Lens.
Conclusion
This was surprisingly easy, don’t you think? Now you can optimize your models and deploy them to DeepLens. Please let me know about your projets, happy to share and retweet!
As always, thank you for reading.
The soundtrack to this post was Judas Priest.1983…. Spikes, leather, spandex: legendary!